If you are standing in your workshop wondering what drill bit for #8 screw is the perfect match, you are in the right place. Finding the correct drill bit for #8 screw applications is not just a minor detail in a woodworking project; it is the foundation of structural integrity. Whether you are building high-end furniture, a backyard deck, or performing a simple home repair, choosing the right drill bit for #8 screw pilot holes ensures that your project lasts a lifetime without wood splitting or screw breakage. In this 2026 masterclass from Toolsmechanism, we provide a deep dive into the engineering of pilot holes to solve the mystery of thread engagement once and for all.
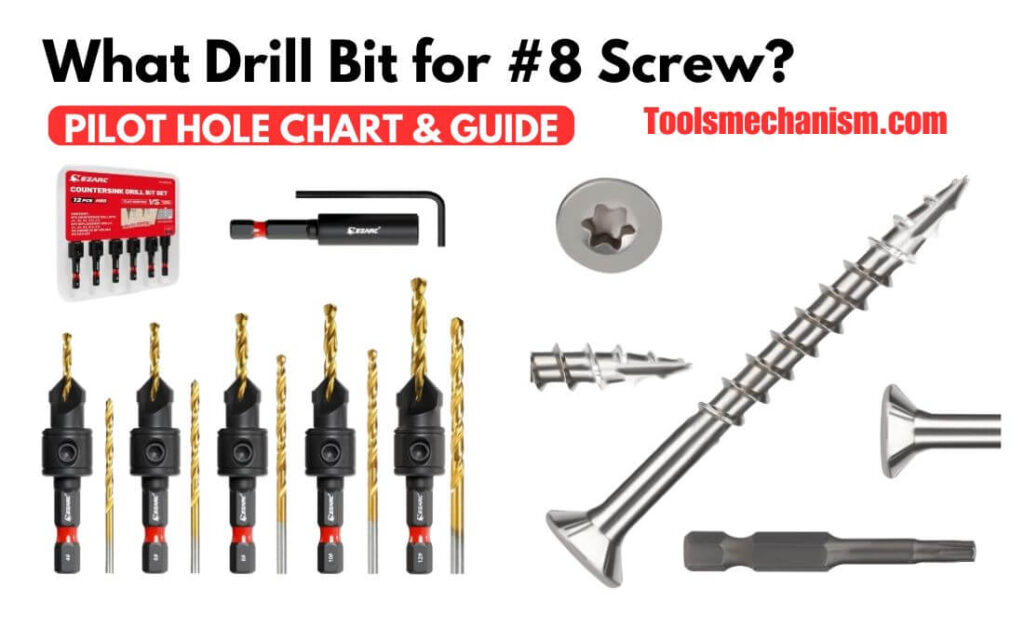
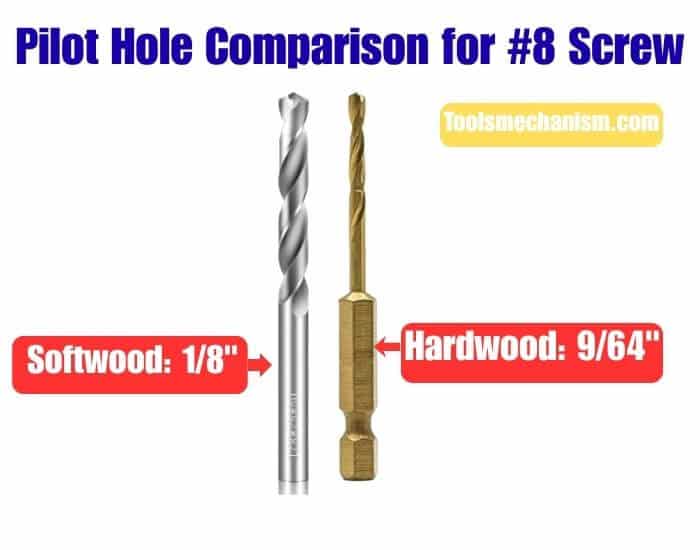
To help you visualize the process, we have organized this guide around four technical visual pillars. Our Featured Image (Image 1) showcases a professional countersink bit set specifically paired with a standard #8 stainless steel screw, illustrating the concept of a Pilot Hole Chart. Moving deeper into material science, our Comparison Image (Image 2) highlights the critical difference between drilling in softwood (using a 1/8″ bit) versus hardwood (using a 9/64″ bit). This visual distinction is the primary answer to what drill bit for #8 screw you should reach for depending on your wood choice.
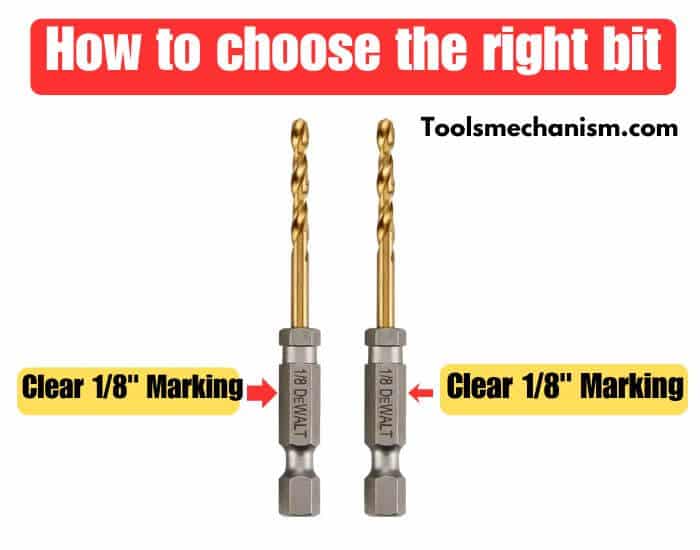
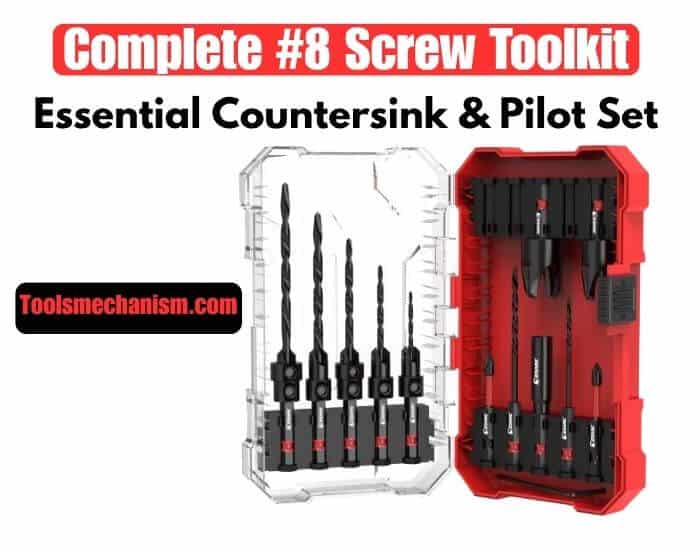
Precision in the workshop requires clear tool identification. Our Identification Image (Image 3) focuses on the “Clear 1/8″ Marking” found on high-quality DeWalt bits, teaching you how to verify your tools before drilling. To complete your setup, our Essential Toolkit Image (Image 4) features a professional EZARC countersink kit. These tools allow you to drill the pilot hole and the countersink bevel in one motion, ensuring your screw heads sit flush. Understanding what drill bit for #8 screw is best becomes much easier when you have the right visual references.
In the following 2000 words, we will analyze decimal equivalents, shank-to-thread ratios, and specific guidelines for metal, plastic, and composite materials. We will also explore the math behind the “Measure Twice, Drill Once” rule. By the end of this guide, you will never have to guess what drill bit for #8 screw is needed again. Let’s dive into the technical specifications that separate the amateurs from the master craftsmen.
| Product Name | Best Used For | Check Price |
|---|---|---|
| DeWalt 1/8" Drill Bit | Softwood Pilot Holes | Check Price on Amazon |
| Titanium 9/64" Drill Bit | Hardwood Pilot Holes | Check Price on Amazon |
| EZARC Countersink Set | Professional Flush Finish | Check Price on Amazon |
| #8 Stainless Steel Screws | Decking & Outdoor Projects | Check Price on Amazon |
Table of Contents
The Engineering Math: What Drill Bit for #8 Screw?
To understand why we choose specific sizes, we must look at the screw’s geometry. A standard #8 wood screw has a major diameter of 0.164 inches. The “Root Diameter”—the solid core of the screw without the threads—is what we are trying to match with our drill bit.
If you ask an engineer what drill bit for #8 screw is ideal, they will tell you that the hole must be slightly smaller than the threads but equal to or slightly larger than the root. For a #8 screw, a 1/8″ bit (0.125″) provides enough room for the threads to cut into the wood while ensuring the solid shank doesn’t put too much pressure on the fibers, which causes splitting.
Material Density: Choosing the Right Bit for Wood Types
The density of the material is the most important variable when determining what drill bit for #8 screw.
Softwood Strategies (1/8″ Bit)
Softwoods like Pine, Cedar, and Spruce are compressible. When you use a 1/8 inch drill bit, the threads of the #8 screw push the wood fibers aside rather than tearing them. This compression actually increases the “grip” of the screw. If you are building a fence or a rough-cut garden bed, 1/8″ is the definitive answer to what drill bit for #8 screw.
Hardwood Precision (9/64″ Bit)
In hardwoods like Oak, Maple, or Ipe, there is no room for error. These woods are dense and brittle. If you use a 1/8″ bit, the friction generated by the screw can be so intense that the steel actually heats up and snaps. To prevent this, we move up to a 9/64 inch drill bit. This extra 0.015″ provides the necessary clearance to prevent the wood from splitting while still allowing the threads to bite securely.
How to Identify the Correct Drill Bit in Your Workshop
Knowing what drill bit for #8 screw is useless if you can’t find it in your toolbox. Most people try to “eyeball” the difference between a 7/64″, 1/8″, and 9/64″ bit, which often leads to mistakes.
Reading the Shank Markings
As shown in our Image 3, professional bits like those from DeWalt have laser-etched markings. Look for the “1/8” or “9/64” stamp. If the markings have worn off, we recommend using a digital caliper to measure the bit’s diameter. Precision is the hallmark of Toolsmechanism, and verifying your bit size is the first step toward a successful project.
Tapping Metal: What Drill Bit for #8 Screw?
Drilling into metal (aluminum or thin steel) requires a completely different approach. You aren’t just making a hole; you are often preparing for a machine screw thread. For a #8-32 machine screw, the standard answer to what drill bit for #8 screw is a #29 wire gauge bit (0.1360″). If you are using a self-tapping screw in sheet metal, a 9/64″ bit is generally preferred to give the screw a starting point without over-enlarging the hole.
Advanced Techniques: Using Tapered vs. Straight Bits
Not all bits are created equal. Tapered bits mimic the shape of a traditional wood screw, being wider at the top and narrower at the point. Many veterans believe a tapered bit is the only true answer to what drill bit for #8 screw, as it provides the most surface area for thread engagement across the entire length of the screw.
Avoiding Common Mistakes: Why Screws Snap?
- Under-drilling: Using a bit that is too small for hardwood.
- Skipping the Countersink: This causes the wood around the screw head to mushroom and splinter.
- No Lubrication: In tough projects, rubbing a bit of beeswax or soap on the threads of your #8 screw makes a world of difference.
Frequently Asked Questions (FAQ)
Q: What drill bit for #8 screw is best for Plywood?
A: For plywood, a 1/8″ bit is usually sufficient, as the layers are bonded with resin which provides extra stability.
- Q: Can I use a 3mm bit if I don’t have a 1/8″?
A: Yes, a 3mm bit is 0.118″, which is very close to 1/8″ (0.125″). It will be a tight fit, so use it mainly for softwoods. - Q: What drill bit for #8 screw should I use for PVC?
A: 1/8″ works best for plastic as it allows the threads to “melt” into the material slightly for a permanent hold.
Why Investing in a Complete #8 Screw Toolkit is a Game-Changer?
For the serious woodworker or DIY enthusiast, buying individual bits every time you start a project can be inefficient. As we explore the best drill bit for #8 screw, we must consider the long-term value of a specialized toolkit. A professional-grade set, like the one shown in our Essential Countersink & Pilot Set Image, doesn’t just give you a hole; it provides a complete fastening system. These kits typically include high-speed steel (HSS) bits, adjustable countersinks, and even depth stops to ensure every screw is driven to the exact same depth.
Using a dedicated toolkit for your #8 screws ensures that you are prepared for both hardwood and softwood projects without needing to hunt through a messy toolbox. Moreover, these sets often feature hex-shanks, which are compatible with impact drivers, making your workflow significantly faster. At Toolsmechanism, we believe that organization is the first step toward precision. When you have a dedicated drill bit for #8 screw along with its matching countersink in one organized case, the risk of using the wrong size is virtually eliminated. This investment saves you time, prevents broken screws, and guarantees a flush, professional finish that enhances the overall quality of your work.
| Product Name | Best Used For | Check Price |
|---|---|---|
| DeWalt 1/8" Drill Bit | Softwood Pilot Holes | Check Price on Amazon |
| Titanium 9/64" Drill Bit | Hardwood Pilot Holes | Check Price on Amazon |
| EZARC Countersink Set | Professional Flush Finish | Check Price on Amazon |
| #8 Stainless Steel Screws | Decking & Outdoor Projects | Check Price on Amazon |
Final Conclusion: Mastering the #8 Screw Pilot Hole
In summary, finding the correct drill bit for #8 screw is the secret to strong, crack-free wood projects. Whether you choose the standard 1/8″ bit for softwood or step up to the 9/64″ bit for hardwood, precision must always be your priority. By utilizing a high-quality countersink toolkit and checking your bit markings, you ensure that every screw you drive is perfect. Thank you for choosing Toolsmechanism for your technical guidance. Now, grab your drill, pick the right bit, and start building with confidence!