Drilling a blind hole is a difficult task. These holes do not go all the way through the metal. Therefore, learning how to mark blind holes for drilling is quite challenging. If you fail to mark the correct spot, you might ruin your entire project.
Even a 1mm mistake while drilling can prevent bolts or screws from fitting properly. Professional mechanics and carpenters use specific techniques to avoid this. There are many reliable methods to master how to mark blind holes for drilling with high precision.But first, what’s a blind hole? It’s a hole that doesn’t go all the way through the material. Its depth can’t be determined just by looking.
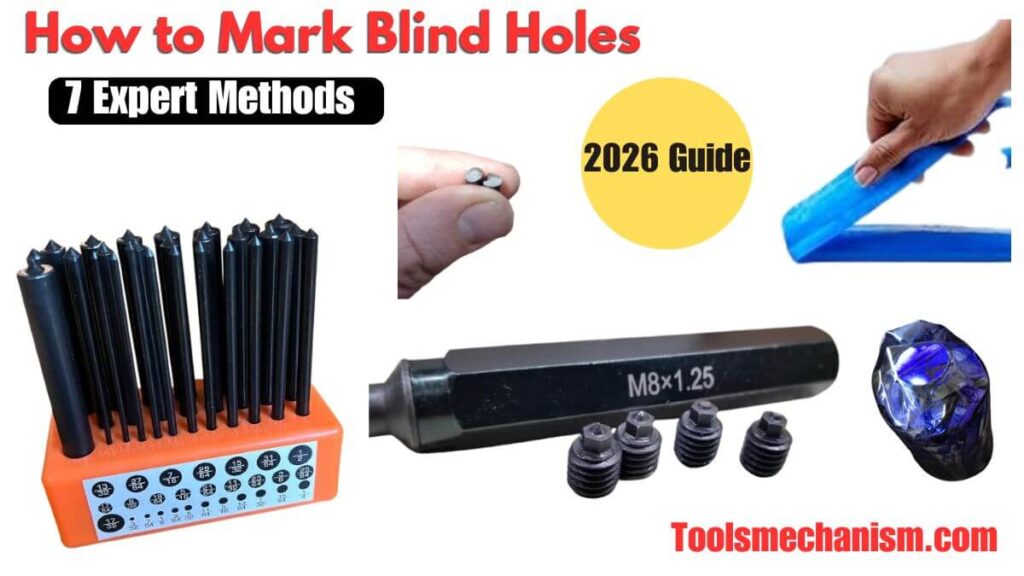
In this guide, we will learn seven easy methods for how to mark blind holes for drilling. These methods include Transfer Punches, Transfer Screws, Layout Fluid, Back-drilling, the Paint Trick, Masking Tape, and Template methods. Let’s dive into the details.
Pro Tip: For 100% accuracy in marking blind holes, experts recommend using a Transfer Punch Set. It makes the alignment perfect every time.
Table of Contents
Top Rated Tools for Blind Hole Marking
To achieve 100% precision in your projects, having the right tools is essential. I have carefully selected these top-rated tools to help you learn how to mark blind holes for drilling with ease and accuracy. Whether you are working with metal or wood, the following equipment will ensure your holes align perfectly every time.
Recommended Precision Tools for Marking Blind Holes 2026
| Product Name | Best Used For | Check Price |
|---|---|---|
| NEIKO 02621A Set | Professional Metal Marking | Check Price on Amazon |
| HHIP Screw Set | Threaded Blind Holes | Check Price on Amazon |
| Dykem Layout Fluid | Clear Visibility on Metal | Check Price on Amazon |
| Starrett 18C Automatic Center Punch | Deepening marking points without using a hammer. | Check Price on Amazon |
Recommended Materials for Marking Blind Holes
To perform these tasks correctly, you will need the following materials. We recommend using these tools to master how to mark blind holes for drilling:
Masking Tape: Ideal for marking holes on wood or delicate surfaces without leaving scratches.
Transfer Punch Set: The most essential tool for creating a 100% precise center point on metal.
Center Punch: Use this after marking to deepen the spot, ensuring your drill bit stays perfectly in place.
Transfer Screws: A must-have tool specifically designed for marking holes that already have threads.
Ball Peen Hammer: Provides the balanced force needed to strike your punches and leave a clear mark.
Layout Fluid (Dykem): Coats the metal in blue so you can see your tiny marking points with extreme clarity.
Method 1: Using Transfer Punches
When precision is your top priority, there is no substitute for a professional transfer punch set. Many beginners ask, How to mark blind holes for drilling with 100% accuracy? The professional answer always leads back to this tool. Unlike a standard center punch, which has a tapered body, a transfer punch is a precision-ground steel rod with a consistent diameter throughout its length, ending in a sharp, centered point.

How to do it: Detailed Step-by-Step
Step 1: Position and Strike
First, select a transfer punch that matches the exact size of your hole. Insert it into the blind hole and hold it perfectly vertical (90 degrees). Now, give the head of the punch a firm, controlled strike with a ball-peen hammer. One solid hit is better than multiple light taps to avoid double marking.
Step 2: Inspect the Mark
Remove the punch and the template plate. You will see a tiny, sharp indentation. This is the most critical stage of how to mark blind holes for drilling. Check if the mark is clearly visible. If not, do not try to re-punch; instead, use a magnifying glass to confirm the center.
Step 3: Deepen with a Center Punch
The mark from a transfer punch is often very shallow. Before you start drilling, place a Center Punch on that tiny dot and strike it again. This creates a deeper crater that will guide the tip of your drill bit and prevent it from walking or sliding across the metal.
Step 4: Drilling the Hole
Choose the correct drill bit size. Start at a slow speed to ensure the bit seats correctly in the punched mark. Apply a drop of cutting oil to reduce heat. Drill steadily until you reach your desired depth.
Step 5: The Final Finish
After drilling, use a deburring tool or a larger drill bit to lightly clean the edges of the hole. Wipe away the metal shavings. You have now completed the professional process of how to mark blind holes for drilling with a perfect, clean finish.
Pro Tips for Transfer Punches:
Pro Tip: Once you have marked the center with a transfer punch, always use a Center Punch to make that indentation deeper. This ensures that your drill bit stays perfectly in the center and doesn’t slide across the surface when you start drilling.
Method 2: Using Transfer Screws For Threaded Holes
A transfer screw is a small, headless screw made of hardened steel. One end is threaded to match the hole, and the other end features a very sharp, precision-machined point. These are typically sold in sets that include a small handle for easy installation.

How to do it: Step-by-Step
Step 1: Select and Install
Identify the thread size of your blind hole. Screw the correct size transfer screw into the hole. Leave only the sharp point sticking out slightly above the surface.
Step 2: Alignment
Place the second workpiece exactly where it needs to be. Make sure it is level and doesn’t wobble on the screw points. This is a critical part of how to mark blind holes for drilling on mechanical parts.
Step 3: The Transfer
Give the top workpiece a light, even tap with a rubber mallet. The sharp points of the screws will bite into the material.
Step 4: Final Drill
Remove the workpiece and inspect the sharp dots. Deepen these dots with a center punch. Now, drill the holes with confidence.
Pros: Best for threaded holes.
Cons: Requires specific screw sizes for every job.
Safety and Maintenance Tip:
Because transfer screws are small and very sharp, always store them in their original case. A dull point on a transfer screw is useless. If the point becomes damaged, you can carefully re-sharpen it in a lathe or using a precision grinder, but replacing it is usually the better option for maintaining accuracy.
Method 3: Using Layout Fluid (Dykem)
If you want to know how to mark blind holes for drilling like a professional machinist, you need to use layout fluid (commonly known as Dykem Steel Blue). This is a thin blue liquid that you brush onto the surface.
How to do it: Step-by-Step
Step 1: Clean and Coat
Clean the metal surface with alcohol. Brush a thin layer of blue layout fluid (Dykem) around the blind hole area. Let it dry for 30 seconds.
Step 2: Marking
Place your plate over the hole and use a transfer punch. The punch will scratch away the blue dye, revealing the bright metal underneath.
Step 3: Precision Drilling
The bright silver dot on the blue background is very easy to see. This high contrast makes how to mark blind holes for drilling much faster and reduces eye strain.
Pros: Extremely clear marking.
Cons: Can be messy and takes time to dry.
Method 4: The Back-Drilling Technique
Sometimes, the easiest way to solve the mystery of how to mark blind holes for drilling is to drill from the opposite side if the workpiece allows it. This is called back-drilling.
How to do it: Step-by-Step
Step 1: The Pilot Hole
If the back side of your workpiece is accessible, drill a very small (1/16″) pilot hole exactly through the center of the blind hole to the other side.
Step 2: Transfer to New Piece
Align your new workpiece on the front. Now, use the small pilot hole from the back to guide a scriber or a small punch to mark the new piece.
Step 3: Finishing
Drill the full-size hole from the front using the mark you just made. This is one of the most accurate ways for how to mark blind holes for drilling.
Pros: Extremely high accuracy.
Cons: Not possible if the back side is blocked.
Method 5: The Paint or Lipstick Trick
Don’t have professional transfer punches? No problem. One of the oldest hacks for how to mark blind holes for drilling involves using a bit of bright paint or even lipstick!
How to do it: Step-by-Step
Step 1: Applying the Ink
Apply a thin, even layer of wet paint or lipstick around the rim (the top edge) of the blind hole.
Step 2: The Impression
Carefully lower your second workpiece onto the hole. Press down firmly once and lift it straight up. Do not slide the piece.
Step 3: Finding the Center
You will see a colored ring on your plate. Use a ruler to find the exact center of that ring. This is a clever budget-friendly solution for how to mark blind holes for drilling.
Pros: No special tools required.
Cons: Less precise for high-end engineering.
Method 6: Masking Tape Method
How to do it: Step-by-Step
Step 1: Tape and Rub
Cover the blind hole with a piece of blue masking tape. Rub a pencil lead or a dirty finger over the edges. The outline of the hole will appear on the tape.
Step 2: Transfer the Template
Peel the tape off carefully and stick it onto your new workpiece. This creates a perfect 1:1 template.
Step 3: Drilling
You can now drill directly through the tape. This method is popular among woodworkers learning how to mark blind holes for drilling.
Pros: Cheap, clean, and fast.
Cons: Tape can stretch, causing slight errors.
Method 7: Using a Template or Jig
In 2026, many modern workshops use 3D-printed templates. If you have multiple blind holes to mark, creating a simple plastic template is the most efficient way to handle how to mark blind holes for drilling.
How to do it: Step-by-Step
Step 1: Create the Master
Take a thin piece of plastic or cardboard. Mark and drill the hole pattern once to create a Master Jig.
Step 2: Use the Jig
Clamp this jig onto your new workpiece. Use a marking pen or a punch through the holes of the jig to mark your new piece.
Step 3: Repetitive Drilling
This is the best way for how to mark blind holes for drilling when you have many identical parts to make. It ensures every part is exactly the same.
Pros: Saves massive time on large projects.
Cons: Takes time to build the initial jig.
Frequently Asked Questions (FAQ)
Q1: Why should I use a transfer punch?
A: It is used to create a perfect center point. This is a vital step in learning how to mark blind holes for drilling.
Q2: When are transfer screws necessary?
A: You need them when the hole is already threaded.
Q3: Why do I need layout fluid?
A: It helps you see the punch marks clearly on shiny metal surfaces.
Q4: When should I perform back-drilling?
A: Use this method when other techniques fail and the back side of the block is accessible.
Q5: Does the paint trick actually work?
A: Yes. It is a good temporary solution if you do not have professional tools for how to mark blind holes for drilling.
Q6: Where is the masking tape method most effective?
A: It is best for woodworking or marking holes on soft materials.
Q7: Does the template method save time?
A: Yes. It saves a lot of time when you need to mark many similar holes at once.
Recommended Precision Tools for Marking Blind Holes 2026
| Product Name | Best Used For | Check Price |
|---|---|---|
| NEIKO 02621A Set | Professional Metal Marking | Check Price on Amazon |
| HHIP Screw Set | Threaded Blind Holes | Check Price on Amazon |
| Dykem Layout Fluid | Clear Visibility on Metal | Check Price on Amazon |
| Starrett 18C Automatic Center Punch | Deepening marking points without using a hammer. | Check Price on Amazon |
Conclusion
Drilling blind holes needs exact marking for precision. Follow these steps for great results:
- Choose the right drill bit size.
- Indent the spot with a center punch.
- Press firmly when drilling.
- Remove the drill bit periodically to clear debris.
For more accuracy, use a depth stop collar on the drill bit. Ancient craftsmen had no modern tools to mark blind holes. They studied the structure and marked with symbols and measurements. Their skills are still admired today!
In conclusion, mastering how to mark blind holes for drilling is a valuable skill for any craftsman. You can choose any of these seven methods based on your specific project needs. Using the right tools makes the process much easier and ensures high accuracy. We hope this guide helps you learn how to mark blind holes for drilling with perfect precision every time.
Pro Tip: Double-check measurements and markings before drilling. Also, use safety equipment like goggles and gloves.