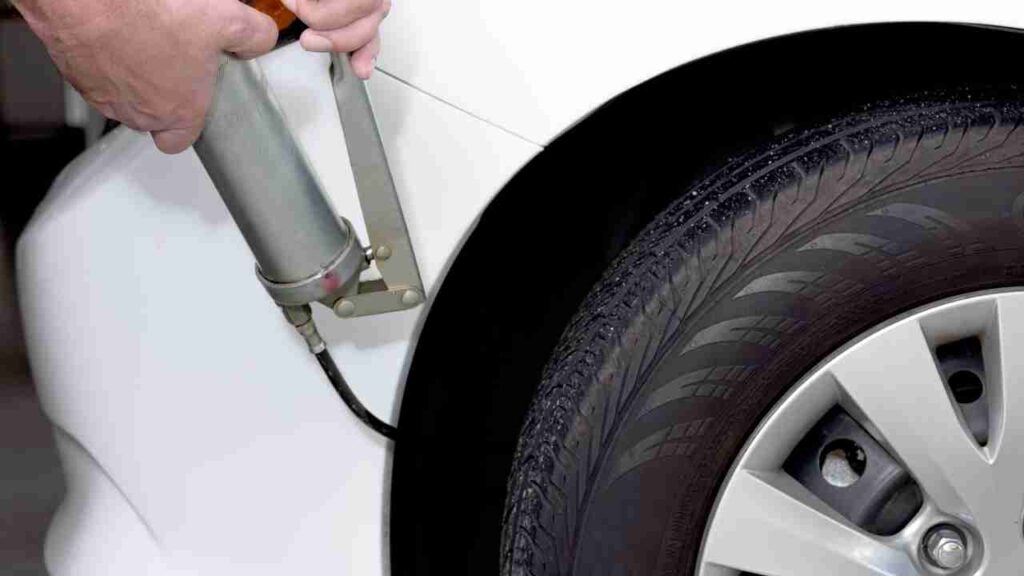
Many machines have parts rubbing against each other as they work, and this hastens wear and tear. It also generates heat. In some cases, it makes a lot of noise. That’s why a lubricant is needed to reduce friction and wear and tear. As the lubricant wears off, it should be replenished. However, some parts are tiny or difficult to access.
Examples of difficult-to-reach parts are tie rods and ball joints. You can easily dispense grease or other lubricants to awkward parts with a grease gun. People often have problems with how to load a spring-loaded grease gun. This is what this article teaches. Take the time to read it through.
Table of Contents
How To Load a Spring-Loaded Grease Gun? 5 Easy Steps
There are two methods to load a grease gun. The methods are loading by suction and cartridge replacement.
Loading by Suction
“Loading by suction is a common method if you are learning how to load a spring-loaded grease gun without using a pre-filled cartridge.”
Step 1:
Separate the head from the barrel. It is better and easier to load it with bulk grease. Pour the bulk grease into a big container. The head is made of the handle and the applicator tube. Separate the head from the cap by unscrewing the head from the cap. Ensure the handle of the piston rod is fully depressed into the barrel to prevent accidental sucking of grease during the process.
Step 2:
Insert the open end of the barrel into the grease in its container. When the barrel is partially immersed in the grease, gently pull the plunger up so that some grease can be sucked into it (barrel). You can purchase bulk grease containers from hardware stores and auto part stores.
Step 3:
After pulling up the plunger rod to its limit, the barrel should be filled with grease. Now, you can remove the barrel from the grease. Lift the open end of the barrel from the grease container. Rotate the barrel to disconnect it from the grease that may be clinging to it. You can now wipe off the excess grease from the mouth of the barrel with a clean cloth.
Step 4:
Screw the head back to the cap and attach it to the barrel. If this is your first time, it might be a good idea to take a picture of the head of the grease gun before you separate. You might as well take a video of your separation process. Both video and picture will guide you on how to assemble it back easily.
Step 5:
Test the grease gun. You’re not through until your gun can dispense grease easily. So, you need to test it immediately after loading it with grease. Press the handle of the piston rod, and squeeze the trigger. You should see grease coming out of the applicator tube.
Do it in an enclosure to prevent your children or pets from running into you while you’re busy. They could startle you, and you may mess things up. The method described above is called loading by suction.
Cartridge Replacement
Step 1:
Unscrew the barrel to remove the empty cartridge.
Step 2:
Remove the empty cartridge and open the new one. Pull it out of its case.
Step 3:
Unseal it at the bottom. Make sure the plunger is pulled down completely before you insert the unsealed grease cartridge into the barrel, with the open end going in first.
Step 4:
Push it to the very end before you remove the seal at the top. This will allow the grease to flow from the barrel into the cap of the grease gun.
Step 5:
Cover the cap and screw it back partially.
Step 6:
Push the plunger back completely. To allow air to escape, press the bleed button at the top. Wait until grease comes out of the bleed button. That’s a signal that all the air has escaped. If air does not escape, the grease will not come out of the bleed button.
Step 7:
You can now screw up the barrel to the cap completely. Pump the lever until grease comes out of the mouth.
How To Use a Spring-Loaded Grease Gun?
How To Load a Spring-Loaded Grease Gun before use the grease gun, you only need to pump the lever to push the grease. It is very easy to use. Many grease guns come with several types of fittings. The fitting to use depends on where you want to apply the grease. Smaller locations require tiny fittings.
How Do You Change a Grease Gun Spring?
Remove the plunger and its iron rod. Remember, the spring is between the handle of the plunger and the barrel. Now, you can remove the retaining ring with a plier while you hold down the spring. Remove the washer and stamp plate before removing the spring.
Now, you can replace it with a new spring. Place the washer and stamp plate and then the retaining ring. You can now reattach the plunger and its rod.
What Is the Easiest Grease Gun to Use?
If you have never used a grease gun before, the easiest gun for you is the hand-lever grease gun. It is simple to understand and easy to control. Such a gun does not have any complex mechanism, so you’ll be able to see how it works easily. You’ll be able to disassemble and reassemble it easily.
In addition, you’ll be able to change its parts, reload it, and troubleshoot it if it stops working. To adjust the pressure, you can reduce or increase your grip on the lever. Many of its users have confirmed its accuracy and efficiency. It helps to maximize the use of every dollop of grease that it dispenses.
However, it is necessary to follow the manufacturer’s instructions and take proper care of it. That way, it will perform optimally, and you’ll enjoy it for a pretty long time. Therefore you have learned How To Load a Spring-Loaded Grease Gun.
Recommended Products for This Task
“To successfully load your spring-loaded grease gun, you’ll need a quality tool and the right grease. If you’re in the market for either, here are our top recommendations.”

Conclusion
“Mastering how to load a spring-loaded grease gun is a key skill for proper equipment maintenance. Whether you choose the suction method or the cartridge method, following these steps will ensure a clean and efficient process every time.”
To enjoy your grease gun, you need to understand how to load it, disassemble it, reassemble it, and troubleshoot it. Don’t just pick any grease gun at random. Some of them are easier to use and more efficient than others. So, you need to check the reviews of your preferred gun before you pay for it.

