Learning how to charge black and decker drill correctly is the first step to ensuring your power tool is always ready for your next project.
When it comes to charging your Black and Decker drill, there are a few key steps:
- First, make sure you have the right charger for your model. This prevents damage to the battery or the drill.
- Plug the charger into a power source. Use a grounded outlet for safety.
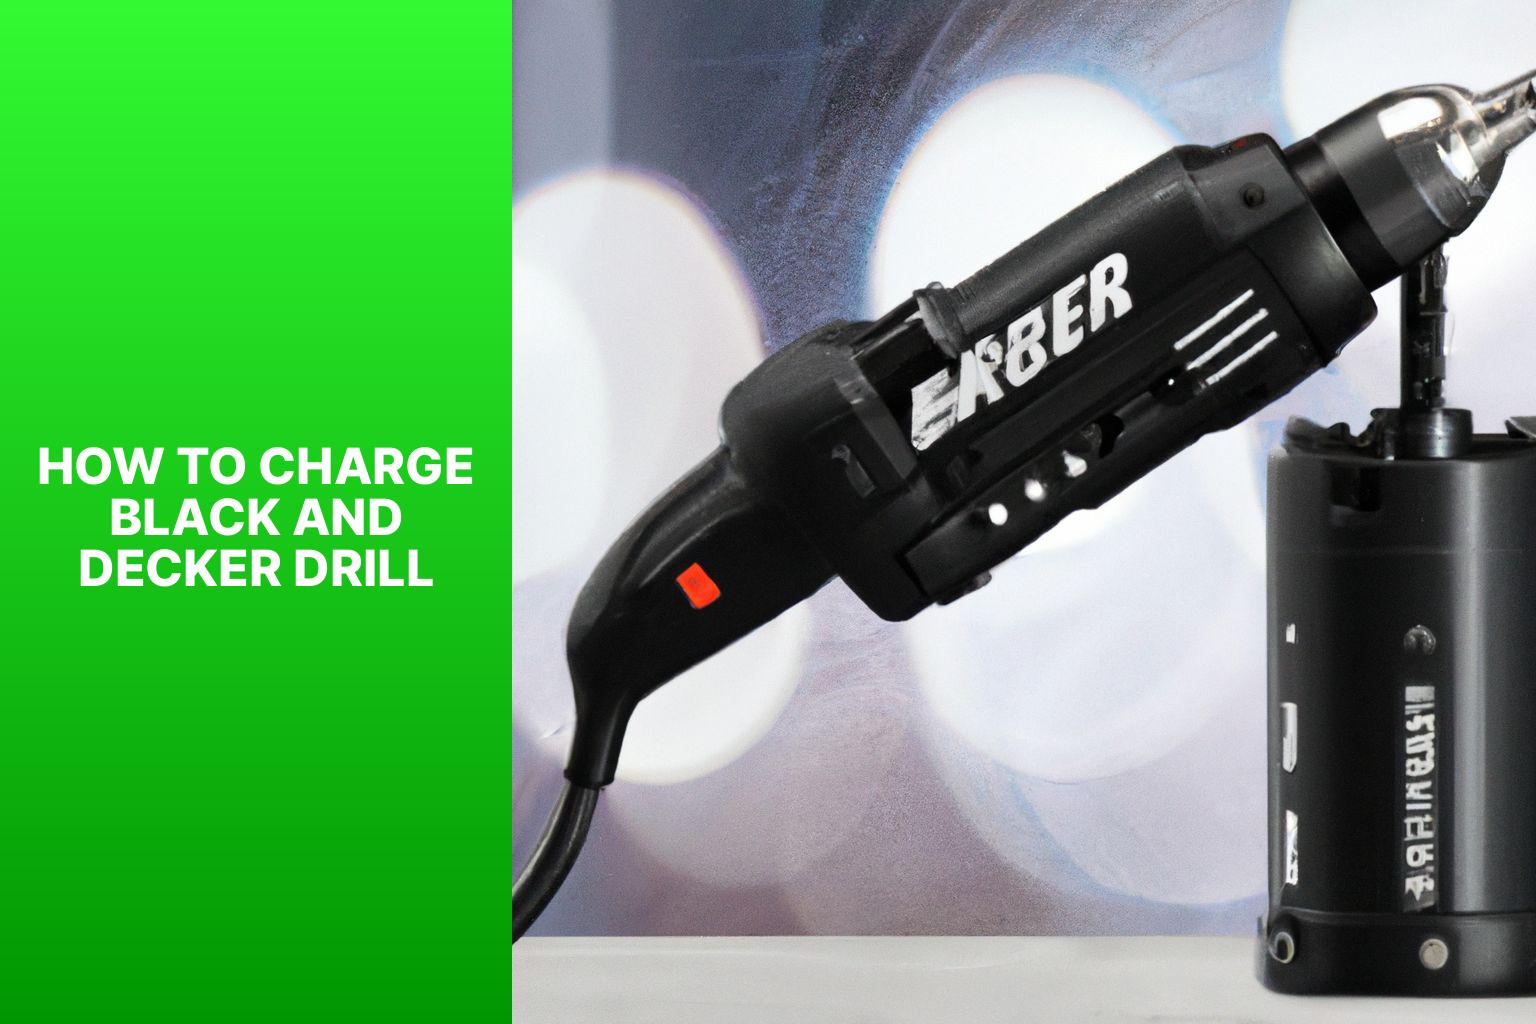
- Take off the battery pack and insert it into the charger. Align it properly with the contacts on the charger. You’ll feel a click when it’s in securely.
- Check the indicator light. Orange or red means charging; green means charged.
- Let the battery charge fully before using. This could take 30 minutes to a few hours.
My friend John didn’t follow the steps! He had the wrong charger and plugged it into an extension cord. He caused a short circuit, damaging the battery and the drill.
The lesson? Use the correct charger and plug it into a grounded outlet. This keeps your drill working for years.
Table of Contents
Understanding the Black and Decker Drill
A Black and Decker drill is a must-have tool for both professionals and homeowners. To use it properly, you must know its features, functions, and charging process.
Let’s look at the drill’s characteristics:
Key Features:
- Corded or Cordless: You have the option of corded or cordless.
- Power Output: Varying power outputs available.
- Speed Settings: Multiple settings to control the drilling.
- Chuck Size: The chuck size determines the drill bits that fit.
Components:
- Battery: Removable power source for cordless use.
- Trigger: Press it to start the motor.
- F/R Switch: Change direction of drilling.
- Chuck: Holds the drill bit.
- Handle: For a better grip.
Charging:
- Plug the charger into an outlet.
- Insert the battery pack into the charger.
- Let the battery charge up.
- Reinsert the battery into your drill.
Real Story:
Once upon a time, Bob got his Black and Decker drill ready for a DIY project. But he had forgotten to charge it! He plugged the drill in and waited for it to charge. While waiting, he got the materials ready. Finally, the battery was full and Bob finished the project with ease.
To get the most out of the Black and Decker drill, understanding its features, components, and charging process is essential. Knowing this will help you tackle any drilling or driving task. So go on and unleash your creativity with this powerful tool!
Safety Precautions
Before charging your Black and Decker drill, remember the safety precautions. It is essential for a secure and efficient charging experience.
- Check if your charger is compatible with your Black and Decker drill. Otherwise, you may damage the battery or cause a fire.
- Charge in a well-ventilated area. Keep it away from heat and flammable materials.
- Never expose the charger or battery to water or any other liquids. Electric shock and component damage will occur.
- Do not charge for too long. Overcharging may damage the battery and reduce its lifespan. Disconnect the charger when it’s done.
These precautions are important for the drill’s durability and your safety.
By using the right charger, ventilating properly, keeping away from liquids, and avoiding overcharging, you can prolong the battery’s lifespan and stay safe.
Now, go ahead and charge your Black and Decker drill without worry!
Step-by-Step: How to Charge Black and Decker Drill
Bringing life to your Black and Decker drill? Here’s how:
- Connect charger: Plug it into a power outlet for a secure connection.
- Insert battery: Slide the battery pack in until it clicks. Make sure the polarity markings match.
- Monitor status: Look for an indicator light, either red or green. Leave it to charge per the user manual.
- Remove charged battery: Unplug and take the battery out. Ready to use!
For optimal performance and safe charging, use only compatible chargers and batteries recommended by Black and Decker. If you have any issues or questions, refer to the user manual or contact customer support.
A friend of mine learnt the importance of proper charging the hard way. He charged his drill overnight without paying attention. When he went to use it, it was overheated and damaged. A potential hazard. So, always follow proper charging procedures for your Black and Decker drill!
Troubleshooting Common Issues
Troubleshooting a Black and Decker drill can be tricky. Here are some steps to help sort out common problems:
- Check the power source. Ensure the outlet is working by plugging in another device.
- Look at the charger and cord. Check for signs of damage or wear. If there are any, replacing them may be necessary.
- Verify the battery connection. Make sure it fits snugly and does not have any loose parts.
- Allow enough time to charge. Different models may take different amounts of time. Refer to the user manual for recommended charging durations.
- Consider getting a new battery. If all else fails, buying a new one may be the solution.
Also, remember to clean and store in a cool, dry place. This will help keep it in good condition and avoid charging issues.
Now you know how to keep your drill running smoothly. Don’t let charging troubles slow you down – follow these steps and get back to your projects!
Maintaining the Drill’s Battery Life
Keep your Black and Decker drill ready for the job! Follow these three steps to ensure your battery stays in top condition:
- Charging: Use the charger that is made for your model. Plug it into a power source and attach it to the drill. Don’t overcharge it! Refer to the manufacturer’s instructions for the correct charging time. Once charged, unplug the charger from the drill and power source.
- Storage: Always remove the battery before storing. Leaving it attached can cause discharge and reduce its lifespan. Store the battery in a cool, dry place away from sunlight and extreme temperatures.
- Maintenance: Inspect and clean the battery terminals on the drill and battery. Use a soft cloth or brush to remove dirt and debris. If you see any damage or corrosion, read your user manual for guidance.
Care for your drill’s battery – it’s an investment that pays off! With proper maintenance, it’ll be ready when you need it most.
Conclusion
- Charge your Black and Decker drill with ease! Turn it off and plug the charger into the drill’s charging port.
- Let it charge for the recommended time.
- Then, unplug it from both the power source and the drill.
- It’s important to not over or undercharge your drill for optimal battery life.
- Use a compatible charger specifically designed for Black and Decker drills.
Also, take proper care of the drill’s battery. Don’t expose it to extreme temperatures or humidity. With this in mind, I had a positive experience with my drill. It ran out of battery mid-project and I panicked! But I followed the instructions and it charged up in only a few hours.
Following these steps and taking good care of your Black and Decker drill will ensure that it stays charged at all times. You can finish your projects without interruption!
Now you know exactly how to charge black and decker drill, ensuring you get the maximum performance and lifespan from your batteries.
Frequently Asked Questions
Q: How do I charge a Black and Decker drill?
A: To charge a Black and Decker drill, first, ensure that the battery is removed from the drill. Connect the charger to a power source and then insert the battery into the charger. The charger will indicate the charging status, and once fully charged, you can remove the battery from the charger and reinsert it into the drill.
Q: How long does it take to charge a Black and Decker drill?
A: The charging time for a Black and Decker drill varies based on the battery type and model. It generally takes around 3 to 4 hours to fully charge a depleted battery. However, always refer to the manufacturer’s instructions and specific model specifications for accurate charging times.
Q: Can I overcharge a Black and Decker drill?
A: Black and Decker drills are equipped with advanced charging systems to prevent overcharging. Once the battery is fully charged, the charger automatically switches to a maintenance mode to avoid overcharging. It is safe to leave the battery in the charger after it is fully charged without worrying about overcharging.
Q: Can I use any charger to charge my Black and Decker drill?
A: It is recommended to use the charger provided by Black and Decker for your specific drill model. Using a charger not designed for your drill may result in improper charging and potential damage to the battery or drill. Always check the compatibility of the charger before using it to charge your Black and Decker drill.
Q: How do I know when my Black and Decker drill is fully charged?
A: Most Black and Decker chargers have indicators that show the charging status. Typically, a solid green light indicates that the battery is fully charged. However, refer to the user manual or instructions specific to your drill model for accurate information about the charging status indicators.
Q: Can I charge my Black and Decker drill in extreme temperatures?
A: It is best to avoid charging your Black and Decker drill in extremely high or low temperatures. Extreme temperatures can affect the charging efficiency and overall battery performance. Optimal charging temperature ranges are usually mentioned in the drill’s user manual.