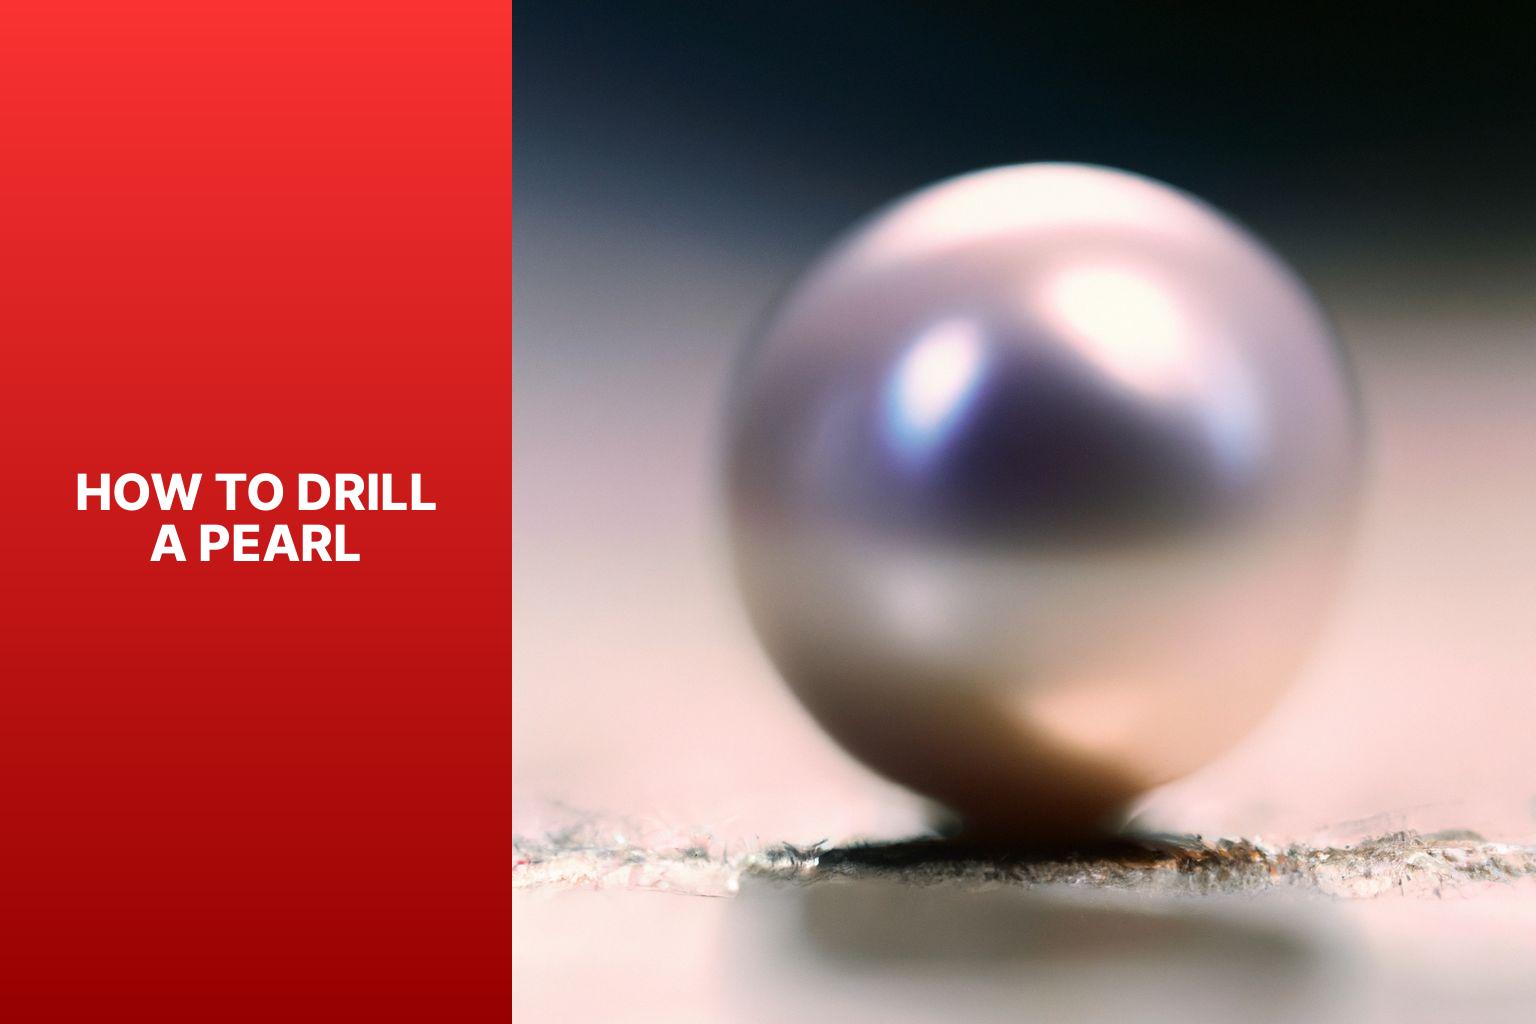
Learning how to drill a pearl can unlock endless creative possibilities for custom jewelry, but this delicate task requires the right tools and a steady hand to prevent shattering the gem.
The possibilities are endless! Drilling pearls requires precision and skill. Jewelry or decorations, these gems can unlock their hidden beauty.
To begin, the right tools are needed. A small handheld drill and diamond or carbide tip to pierce the hard surface. Position the pearl in a vice grip, with careful movements.
Important details must be considered. Lubricants like water or oil can cool the pearl and stop heat damage when drilling. Select the right drill bit size for the desired hole diameter.
Let me tell you the story of a skilled jeweler who mastered drilling pearls. She set out to create a pendant from a Tahitian pearl.
With skill and passion, she made the aperture to let light shine through. Time seemed to stand still as she crafted her vision.
Weeks of dedication were needed to unlock the captivating allure of this dark gemstone. After hours of commitment, her masterpiece was complete. She admired the simple beauty within what seemed ordinary.
Table of Contents
Overview of the drilling process
How to Drill a Pearl, Overview of the drilling process, Drilling pearls demands precision and gentle handling. To make a hole without harming the pearl, jewelers use a high-speed rotating drill bit made of diamond or tungsten carbide. They select the right drill bit size based on the desired hole size. This depends on the jewelry type and its use. Smaller holes are for earrings or delicate necklaces, while bigger ones are for bracelets and pendants.
To avoid slipping, jewelers use a device to grip the pearl. This keeps it stable and reduces accidents. It is essential to keep a steady hand and consistent speed while drilling. Too much pressure or speed leads to cracks in the pearl. Skill and patience are essential for successful pearl drilling.
A story illustrates how vital these techniques are. Once, an esteemed jeweler crafted a necklace with black Tahitian pearls. He drilled each pearl with care. As he skillfully maneuvered his tools, whispers of amazement filled his workshop. His work created a breathtaking masterpiece.
This tale shows the artistry and dedication needed to transform pearls into wearable art. It takes technical expertise and a commitment to preserving their natural beauty.
Required tools and materials
Need to drill a pearl? You’ll need essential tools and materials. Let’s go!
- Get a pearl – loose or attached to jewelry.
- Drill bits – of high quality to not damage the pearl.
- Handheld vice – to secure the pearl while drilling.
- Lubricant – like water or oil. Keeps it cool and reduces friction.
- Protective gear – goggles and gloves for safety.
Choose drill bits with a sharp point that can pierce the pearl without cracks or fractures. Drill at a low speed to avoid heat buildup.
Ready to start? Don’t let fear stop you! Start drilling pearls and unlock new possibilities. The world awaits your unique creations!
How to Drill a Pearl? Step-by-step instructions:
Step-by-step instructions:
- Get your tools ready: a small hand drill, a pearl vise or clamp, and safety goggles.
- Place the pearl securely in the vise or clamp.
- Hold the drill perpendicular to the pearl and apply steady pressure.
- Use minimal force so you don’t hurt the delicate structure.
- Take breaks and let the pearl cool down. Drilling generates heat that may damage its luster.
- If you’re not sure, ask an expert.
- Also, always handle pearls with care. Harsh chemicals and extreme temperatures can cause irreparable damage.
Did you know? Pearls have been prized for centuries for their beauty and rarity.
Safety precautions
When dealing with pearls, safety must be your top concern. Put precautions in place to protect yourself and the gem. Here’s what to do when drilling a pearl:
- Goggles & gloves are a must.
- Ventilation is key. Work in a well-ventilated area or use a fume hood.
- A stable surface prevents accidents.
- Keep tools clean & in good shape.
- Take your time. Controlled movements are safest.
- Have a first aid kit ready.
Also, research & learn about pearl drilling techniques. Look up tutorials, get expert advice, and attend workshops.
Plus, check manufacturer safety guidelines for your equipment. They’ll provide tailored safety info for their product.
By following these precautions, you can confidently pursue your passion for pearls while staying safe. Don’t let fear stop you from making beautiful jewelry. Take charge and prioritize safety!
Tips and tricks for drilling pearls
How to Drill a Pearl? Drilling pearls needs precision and expertise! Here’s how to ace it:
- Clean the pearl: Make sure it’s free of dirt and debris before you drill.
- Choose the right tool: Invest in quality drills specifically designed for pearls. They have a fine tip and won’t crack or fracture the pearl.
- Be gentle: Drilling needs a steady hand and soft touch. Even pressure and patience will avoid breaking the pearl.
Remember that every pearl is unique. Adapt these tips to the pearl’s characteristics for best results.
Want beautiful drilled pearls? Prepare, invest and be careful. Your efforts will be rewarded with gorgeous jewelry pieces! So go ahead and drill away with confidence!
Conclusion
Drilling a pearl is all about precision. Choosing the right tools and technique is essential to not harm the precious gem. With this article, you can successfully drill a pearl without compromising its value.
Patience and attention to detail is key. Pick the correct size drill bit. Too small or too large can cause cracks or chips. Use gentle pressure to penetrate the surface without causing damage.
Ensure stability by using a drill press or clamping the pearl in place. This reduces the risk of mistakes and harm to the gem. Taking measures will maintain the quality and integrity.
When drilling a pearl, consider safety. Wear protective goggles and gloves. This will prevent any accidents or injuries. Safety should always be prioritized with fragile materials like pearls.
Fun Fact: The process of drilling pearls originated in China during ancient times!
With patience and the correct equipment, knowing how to drill a pearl is a skill that can elevate your jewelry-making projects to a professional level.
Frequently Asked Questions
FAQ – How to Drill a Pearl?
Q1: Can any type of pearl be drilled?
A1: Yes, most types of pearls can be drilled, including freshwater pearls, Akoya pearls, and South Sea pearls. However, certain delicate and porous pearls may be more challenging to drill.
Q2: What tools do I need to drill a pearl?
A2: To drill a pearl, you will need a pearl drilling kit, consisting of a handheld drill, a pearl vise or holder, diamond-tipped drills, lubricant, and safety goggles.
Q3: How do I secure the pearl while drilling?
A3: Place the pearl in a pearl vise or holder, ensuring it is held firmly but gently to prevent damage. The vise or holder should provide stability while allowing easy access for drilling.
Q4: What is the drilling process for a pearl?
A4: Begin by marking the drilling spot on the pearl’s surface. Apply a small amount of lubricant on the pearl to reduce heat and friction. Slowly and steadily drill into the pearl using light pressure. Take breaks to let the pearl and drill bit cool down. Repeat until the desired hole depth is achieved.
Q5: How can I prevent the pearl from cracking or shattering during drilling?
A5: To prevent cracking or shattering, use a diamond-tipped drill bit specifically designed for pearls. Apply gentle and consistent pressure during drilling, avoiding excess force. Take breaks to prevent overheating, and ensure the pearl is properly lubricated.
Q6: Should I seek professional help to drill a pearl?
A6: If you are unsure about drilling a pearl or lack experience, it is advisable to seek professional assistance from a jeweler or pearl expert. They have the expertise and specialized tools to drill pearls safely and effectively.